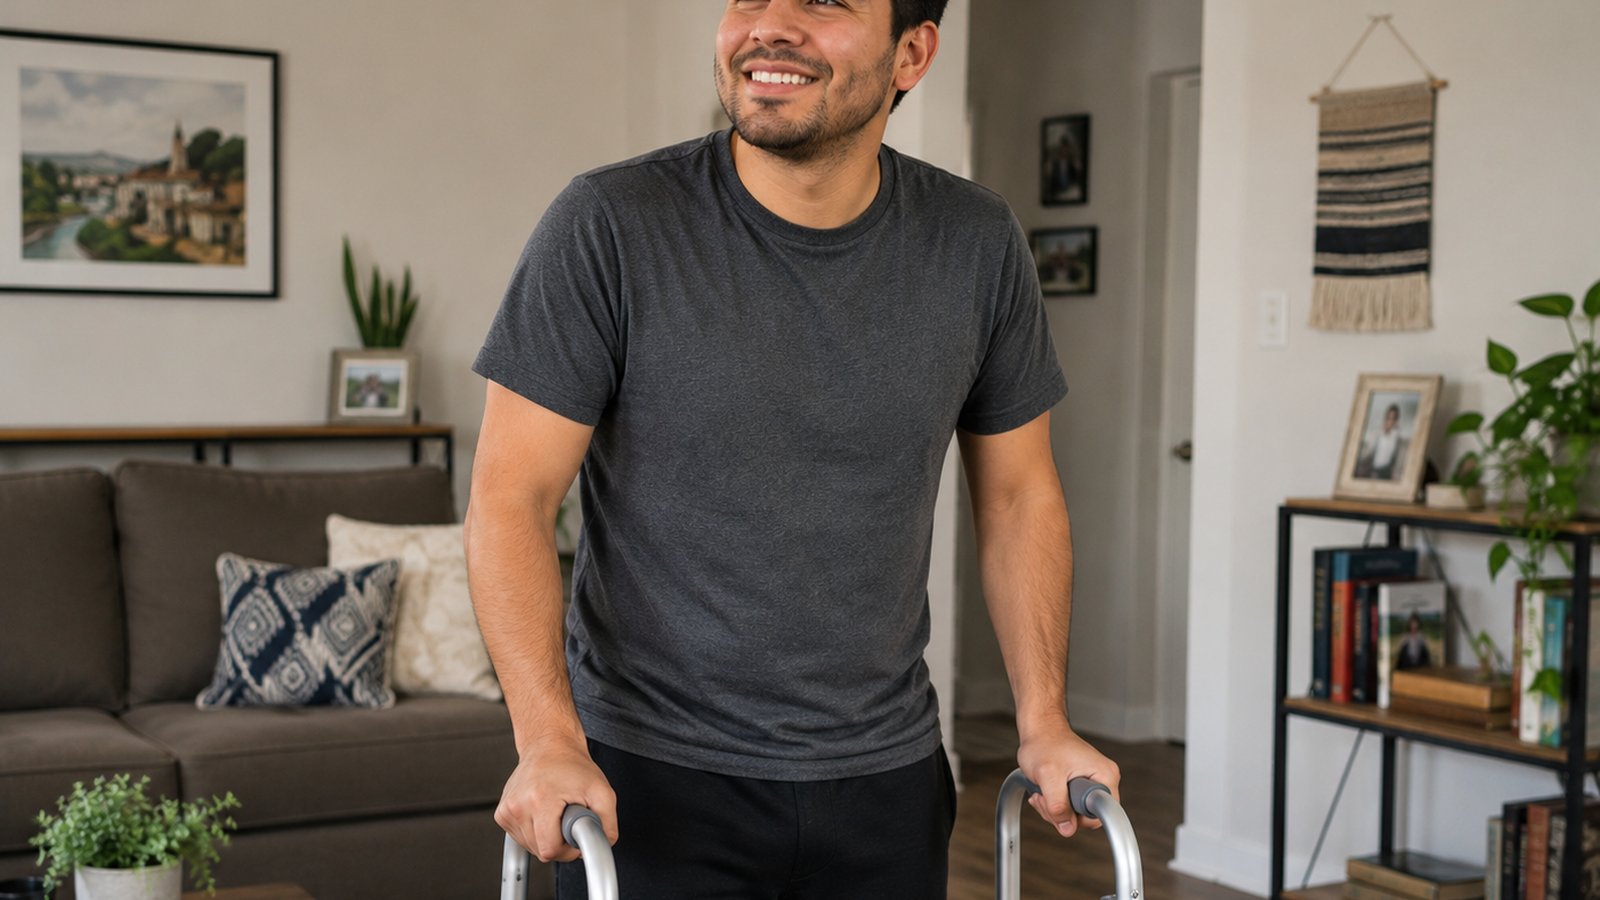
If you've been using a walker for months or years, the idea of giving it up can feel terrifying, and reasonably so. But for many people, the walker is no longer the right tool. It's become a habit that's actually slowing recovery. Here's how to know if you're ready to wean off, and how to do it safely.
A walker is the right answer for a specific window of time after a fall, surgery, or stroke. But continuing to use it long after that window has closed teaches your body to depend on it. The legs get weaker. Balance gets worse. The walker becomes the reason you can't walk without one, a self-fulfilling prophecy.
Are you ready to start weaning?
Three questions to ask yourself honestly:
- Can you stand up from a chair without using your hands at all?
- Can you stand on one leg for 10 seconds while lightly touching a counter?
- Has it been more than 6 months since the event that originally got you on the walker?
If you answered yes to all three, you're almost certainly ready to start weaning. If you answered yes to two, you can start the prerequisite work below. If you answered no to all three, keep using the walker and focus on strength first.
Weaning off mobility aids should be supervised, at least for the first few weeks. A spotter, family member, or therapist near you while you practise dramatically reduces the risk of a setback. The goal is steady progress, not a heroic one-day transition.
The four-stage protocol
Stage 1: Two-week prep work
Before reducing walker use, spend two weeks building the prerequisites. Daily: 3 sets of 8 sit-to-stands (from the firmest chair in your home, no hands), 3 sets of 30-second single-leg stands with a hand near the counter, and 2 sets of 10 heel raises holding the counter. This is the strength foundation that makes everything else safe.
Stage 2: Wide-based cane
Transition from walker to a wide-based quad cane (four small feet at the bottom). This still gives you a stable base, but requires you to actually load your legs. Use it indoors first for one week. Cover the same routes you cover with the walker, just with the cane. Don't take the next step until you can walk for 15 minutes continuously without symptoms.
Stage 3: Single-tip cane
Now graduate to a regular single-tip cane. This requires significantly more balance because you have only one point of contact. Again, indoors first. Then short outdoor trips on smooth surfaces. Same milestone: 15 minutes continuous without symptoms before progressing.
Stage 4: Free walking
Start with very short distances (5 metres, like from the couch to the kitchen). Build up to room-to-room. Then build up to whole-house. Then short outdoor trips. Keep the cane available for outings until you feel confident on uneven ground.
What slows people down
Three things, in order of frequency:
- Trying to skip stages. The protocol works because each stage builds tolerances for the next. Going straight from walker to free walking is how falls happen.
- Not doing the daily strength work. The exercises in Stage 1 aren't optional, they're what makes the transition safe. If you skip them, your body isn't actually ready for the reduction in support.
- Catastrophising one bad day. A bad day doesn't mean you should go back to the previous stage. It means rest for 24 hours and try the same stage again. Real regression is more than 5 consecutive bad days, that's a signal to step back.
The harder truth
Most people we work with are using a walker for one reason: nobody ever told them they could stop. The post-surgery or post-fall window closed, the prescription was never reviewed, and the walker became part of life. If that sounds familiar to you or a loved one, ask the question. The answer might be yes.
Want help getting started?
Book a free consultation. We'll talk through your goals, your medical history, and design a starting program built specifically around where you are right now.
Book a Free Consultation